Sunday, December 4, 2022

Virtual Christmas Cookie Exchange Blog Hop 2022


It's still too early to panic about the Christmas festivities, so relax, pour yourself a cup of hot chocolate, and be inspired.  

Every year Carol of Just Let Me Quilt  hosts the Virtual Christmas Cookie Exchange blog hop and I always have to join in the fun!  It's just the ticket to get my creative juices flowing for the holidays.  Thank you, Carol, for letting me play along and for hosting this fabulous hop.

This year I decided to make a batch of Eggnog Cookies.  These are sweet and spicy and leave your kitchen smelling amazing.  If you bake these cookies, make sure to make a large batch because recipients will beg you for more.  

I'm hoping Santa will love a couple of these cookies with a hot cup of coffee.  He's going to need lots of coffee for his midnight run!  If you would like to make a batch or two for gift giving or holiday noshing, I have provided the recipe below:

EGGNOG COOKIES

Ingredients:

2 1/4 cups all-purpose flour

1 tsp baking powder

1/2 tsp ground cinnamon

1/2 tsp ground nutmeg

1/2 tsp ground ginger

1/2 tsp ground cloves

1 1/4 cup sugar

3/4 cup butter, softened

1/4 cup eggnog

1 tsp vanilla

1 large egg

1/2 cup sugar for rolling cookies 


Drizzle Icing:

1 cup powdered sugar

1 Tablespoon butter, softened

Pinch of salt

1/4+ cup eggnog  


Instructions:

1.  Preheat oven to 350 degrees F.  Line cookie sheets with parchment paper.

2.  Combine the flour, baking powder, cinnamon, nutmeg, ginger, and cloves together in a small bowl.

3.  Using an electric mixer, cream together the sugar and butter in a large bowl.

4.  Add the eggnog, vanilla, and egg and beat at medium speed until smooth.

5.  Gradually add the dry ingredients to the wet ingredients and beat at low speed until just blended.

6.  Create 2 Tablespoon-size balls of cookie dough and roll into balls.

7.  Roll each ball in the additional sugar to coat, then place on cookie sheet one inch apart. .   

8.  Bake at 350 degrees F for about 15 minutes, or until bottoms are light brown.  

9.  Allow the cookies to cool slightly, then transfer to wire rack to cool completely.

10. Drizzle icing over cookies.  


Of course Santa would be nothing without his reindeer.  I have a bag of organic carrots to set out for them as well.

For my project this Christmas, I made a table runner in honor of Santa's hard-working reindeer.  Afterall, without them, where would Santa be?  Stuck at the North Pole, for sure!


I chose a pale blue background with white dots I thought looked a little like snow.  (It does not snow where I live in California.)  

For the reindeer, I chose a cream color for the muzzle, a cocoa brown for the face and ears, and dark brown for the antlers.

I use the Half-Square Triangle method a lot in my patterns, and this one is a full of them.  


The reindeer blocks are 10" x 10".  The side prints are 5" x 10".


The overall size without the border and seam allowance is 15" x 30".  Two different sizes of black buttons sewn askew finish my reindeer.


The border adds 1 1/2" all around, for a finished size of 18" x 33".  


I used a cute Christmas print on white for the backing.  Of course, it's upside down.  


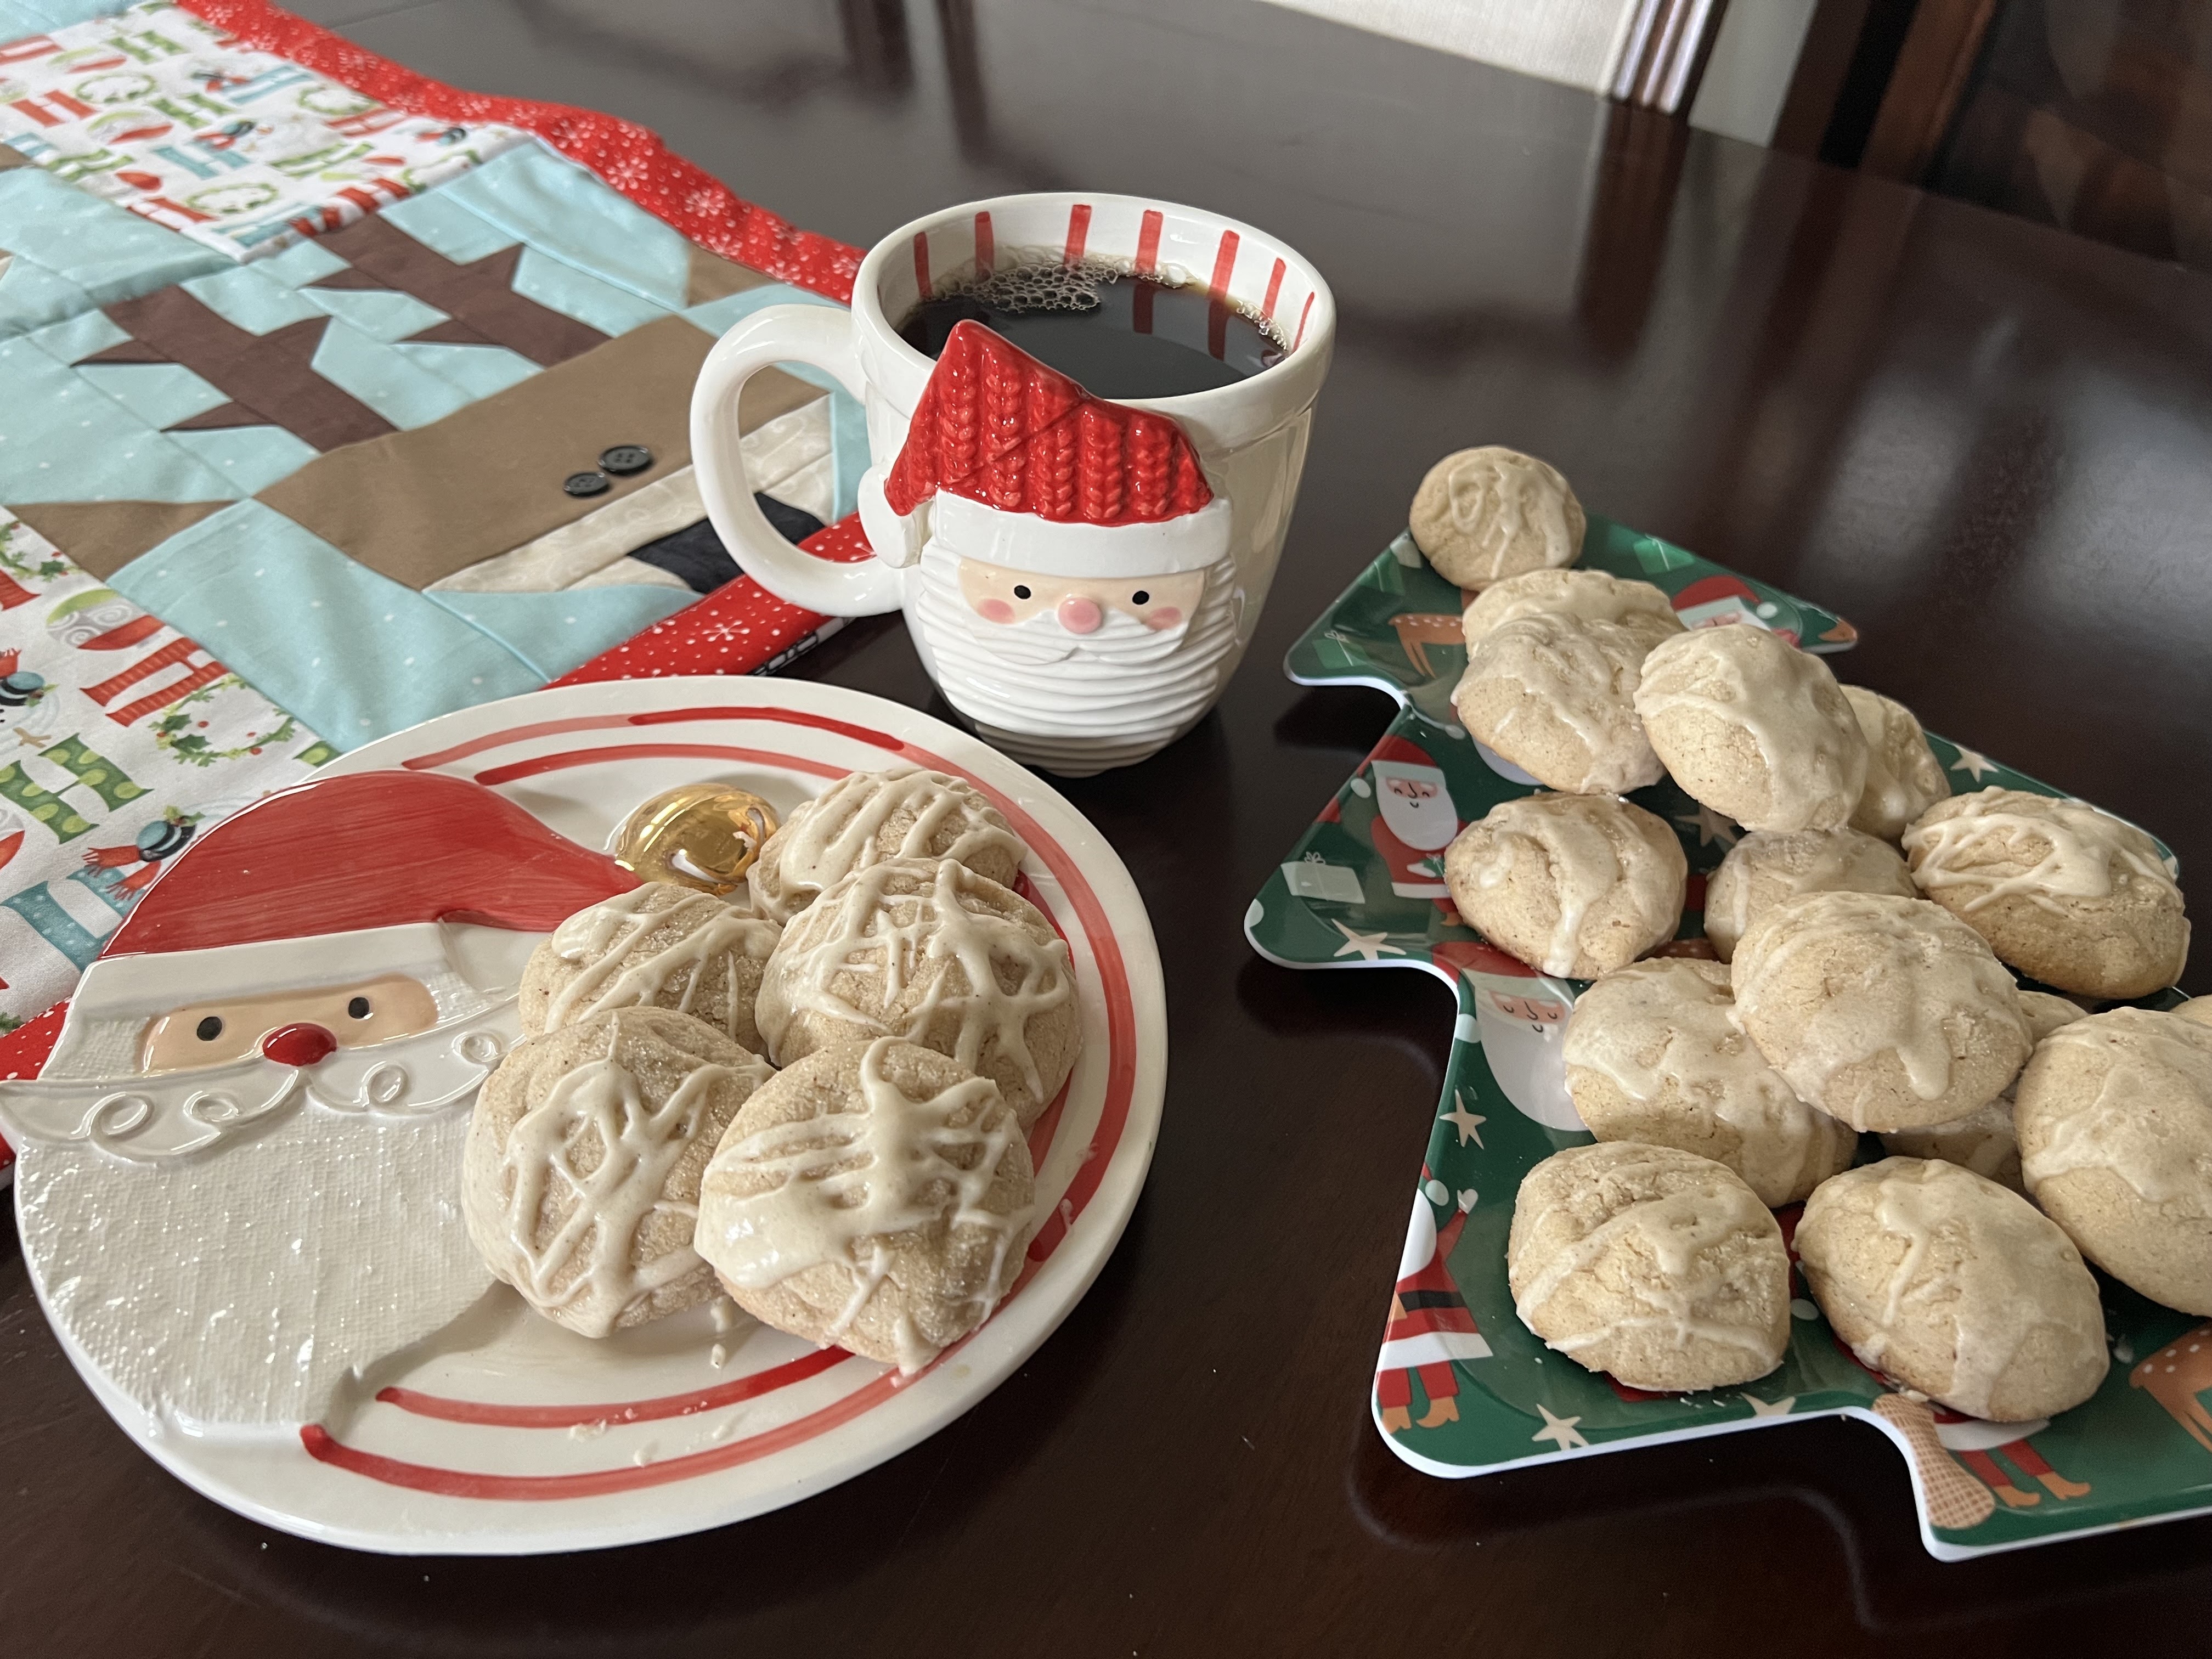
As a runner, it's a little small for my dining room table.  I should have added a few more reindeer to add length.  No matter, Santa seems to like it, and it can make a cute wall hanging, too.

Thank you, Carol, again for hosting this hop at this magical time of year.  It is always so much fun to visit everyone and see new ideas, remember the past, and virtually sample yummy treats.   

This is just the first day of this fun blog hop, so you have miles to go.  Be sure to come back everyday for delicious cookie recipes, as well as more Christmas magic from these fabulous makers and bakers.  You don't want to miss a thing!    

Wednesday, November 16, 2022

Music Blog Hop

Sign up for November

Hurray!  It's my day to share with you my project for the Music Blog Hop.  When Carla, of Creatin' in the Sticks, announced that she was going to host a musical-themed blog, I jumped at the chance to be included.  What a fun idea!

In my stash I had a yard of Alexander Henry fabric called Going Steady.  Its several years old, but I never found the right project to use it until now.


In the book Kiddie Cocktails by Stuart Sandler, was an illustration by Derek Yaniger, one of favorite artists.  I decided to make a wall hanging using his picture as my inspiration.

First I made a background of pastel colors reminiscent of the 50's,  


Next I drew and cut out my teenager shapes.


I used fusible web to adhere most of my pieces to my pastel background.  I found a poodle applique that was so popular during that era.  And the shoes were so much fun to make -- penny loafers, Oxfords, and sneakers.  

Remember the old 45's?  I had quite a collection and a portable record player on which to play them.  

ROCK 'N ROLL 4-EVER!


I used the Going Steady fabric for the backing for this wall hanging.  I think it goes well with the subject.  


This has been such a fun hop.  Thank you again, Carla, for hosting this wonderful hop.

I hope you enjoyed seeing my contribution.  Now boogie on over to the other bloggers' sites and see what they have made.  

Thursday, November 17th

Creatin' in the Sticks
Elizabeth Coughlin Designs
Quilting Gail
Just Because Quilts - you are here
Purring Cottage
Scrapdash


Thursday, October 20, 2022

Gremlins, Goblins & Ghouls -- Oh My! Blog Hop


Welcome, my Pretties, to the
Gremlins, Goblins & Ghouls - Oh My! 
Blog Hop 
the brain child of 
Joan at MooseStashQuilting.com  


Today is my day to show you what I have been brewing in my craft room.  Halloween is one of my favorite holidays, and I love to decorate the house with fun and ghastly items.  But, alas, I have young grandchildren who are easily spooked, so I can't get too creepy. 

This year I discovered the art of making a Notan.  Talk about fun!  Notan is a Japanese design concept involving the play and placement of light and dark elements, or positive and negative.  The process is very simple but the result is striking.     

For my project I chose to make a table runner (because October is way too hot in Southern California for a quilt).  To make this project even easier, I decided to make my runner out of felt.  

To begin, I bought 2 yards of black felt and cut a rectangle of 17" x 60".  For each Notan I bought a 9" x 12" felt rectangle, each one a different color.   

I chose 5 simple Halloween designs -- bat, pumpkin, ghost, cauldron, and candelabra. 


I cut each piece of colored felt in half lengthwise.  (You only need one half of the felt rectangle for this project.)  


Next I folded an 8 1/2" x 11" piece of paper in half lengthwise and drew a simple shape.  Once cut out, this served a my pattern.


Pin your felt in place and cut out your design as precisely as you can.  To get to the inside areas, it is okay to cut a clean line across the shape.  Your Notan is complete! 


I placed my designs approximately 4" apart and sewed them in place, using thread colors that matched the colored felt.  Anywhere I had made cuts were easily "healed" by sewing the edges.  (I didn't, but you could sew across the cuts.)


Since my table is dark, I placed this on the floor so you could see the design's overall effect.  What do you think?

I hope you enjoyed seeing my Notan creation.  I think this would be a good project to do with kids.  It is quick, easy, and economical (and it might keep the little monsters quiet for a minute). jk
 
Once I get started on making things for Halloween, it's hard for me to stop.  I'm only showing you some of my creations.  You don't want to be here all day. 

To be Frank, I love Halloween.


I also made this cute little guy.  I haven't decided whether to make him into a Halloween bag, a pillow, or just leave him as is, a little open bag.  I could store all kinds of evil, wicked, mean, and nasty things inside -- like my own stash of chocolate.  What do you think?


But wait!  There's more!  

You won't want to miss the bewitching creations being unearthed at the sites below!  Pour yourself another cup of hemlock, and go check them out.  They're just dying to show you what they've made.       

Pinker n' Punkin Quilting & Stitching

Just Because Quilts (you are here)

BeaQuilter

Pieceful Thoughts

MooseStashQuilting


Joan has the rest of the schedule HERE and for a real creepy treat, you can view all the projects on Pinterest HERE.

Thank you, Joan, for hosting this haunting Blog Hop!  As always, it's been wicked fun!

Happy Haunting!

Tuesday, September 20, 2022

Queen of Gadgets Blog Hop


When I saw Carol of Just Let Me Quilt was hosting a blog hop on gadgets in the sewing room, I knew I had to join in the fun.  I believe I have just about every gadget, gizmo, and whatchamacallit ever invented for sewing projects.  I have listed just a few of them below.     


These clips hold my binding to my quilt nice and tight.  I'm always hesitant about putting a quilt away with stick pins holding it together.  A big plus to using clips instead of pins is that I can place these all around the border of my quilt and I don't stick myself.


Sometimes I want to embellish a sewing project and poms poms are just the thing.  Have you ever used a pom pom maker?  It can be a little tricky.


My magnetic bowl is just the thing for keeping my pins in check.  It's also a good place for holding different machine feet when I'm doing a project that calls for switching feet often.  


My Oliso iron is one of my favorite sewing tools.  I can't count how many times I knocked over my upright-standing iron.  The Oliso is touch sensitive and lowers when I touch the handle, and pops up off the ironing board surface when I take my hand away.   


As you can see, I have gadgets I have not even used.  I received this felted wool pressing mat for Christmas last year and have not used it yet.  I have only heard good things about it.  Do you use one?


But my favorite tool in the sewing room is not really a gadget.  It's just graph paper.  


All my quilts start out as an idea that I transfer to paper, like this easy sailboat quilt.  The grid squares make it easy for me to design geometric shapes.  For this quilt, each square measured 1".  For sewing purposes, I add 1/2" to each piece for seam allowances.   


I drew the dimensions for this quilt on grid paper so you can follow the diagram and make your own.  It is a really fast and easy pattern.  The finished blocks are 10" squares and the finished quilt is approximately 41" x 41".  I added rick rack just for a bit of fun, but it is certainly optional.  

Once you have your pieces cut, fold your pieces in half or draw a line down the middle of  the pieces and sew across the diagonal lines.  Look at the finished block to make sure you are about to sew in the right direction.  Cut away the excess fabric and press the pieces open.


I turned the secondary block in different directions, as shown on the quilt, so if you're using a directional print, like I did, you may want to pay attention to its placement.


My quilt is small, just right for a baby, but you could make this quilt any size you prefer just by adding more blocks.  


I hope you enjoyed your glimpse into my gadget stash and will try making one of these quilts for yourself.  I think it would be extra cute if the sailboats were all different colors. 

Thank you, Carol, for hosting such a fun and interesting hop.  I am always amazed at the variety of projects presented, and I always learn something new.   

But wait!  There is still more to see!  If you haven't already, be sure to visit the other participants in this hop.  They are sure to astound you with their talents.


Until next time, Happy Stitching!