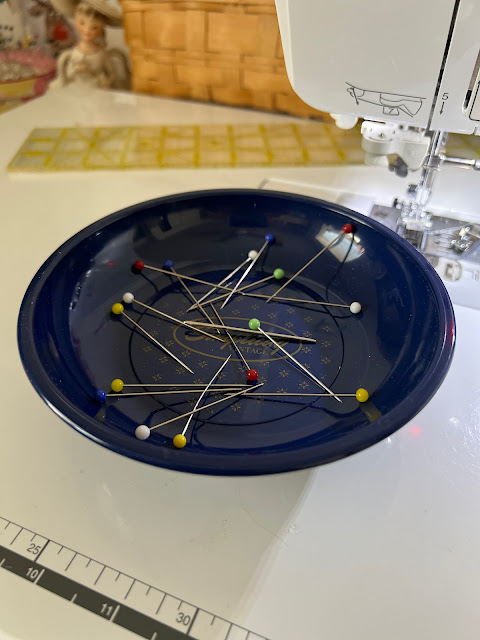
When I saw Carol of Just Let Me Quilt was hosting a blog hop on gadgets in the sewing room, I knew I had to join in the fun. I believe I have just about every gadget, gizmo, and whatchamacallit ever invented for sewing projects. I have listed just a few of them below.
But my favorite tool in the sewing room is not really a gadget. It's just graph paper.

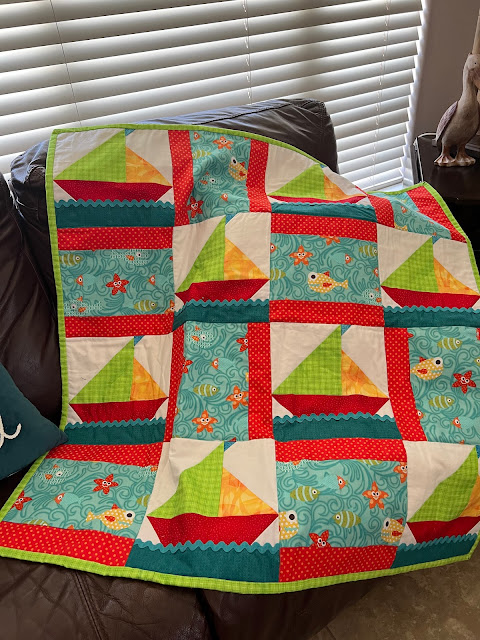
All my quilts start out as an idea that I transfer to paper, like this easy sailboat quilt. The grid squares make it easy for me to design geometric shapes. For this quilt, each square measured 1". For sewing purposes, I add 1/2" to each piece for seam allowances.
I drew the dimensions for this quilt on grid paper so you can follow the diagram and make your own. It is a really fast and easy pattern. The finished blocks are 10" squares and the finished quilt is approximately 41" x 41". I added rick rack just for a bit of fun, but it is certainly optional.
Once you have your pieces cut, fold your pieces in half or draw a line down the middle of the pieces and sew across the diagonal lines. Look at the finished block to make sure you are about to sew in the right direction. Cut away the excess fabric and press the pieces open.
I turned the secondary block in different directions, as shown on the quilt, so if you're using a directional print, like I did, you may want to pay attention to its placement.
My quilt is small, just right for a baby, but you could make this quilt any size you prefer just by adding more blocks.
I hope you enjoyed your glimpse into my gadget stash and will try making one of these quilts for yourself. I think it would be extra cute if the sailboats were all different colors.
Thank you, Carol, for hosting such a fun and interesting hop. I am always amazed at the variety of projects presented, and I always learn something new.
But wait! There is still more to see! If you haven't already, be sure to visit the other participants in this hop. They are sure to astound you with their talents.
September 21
Just Because Quilts (you are here)
Until next time, Happy Stitching!


