I'm so excited! Today is my day to share with you my favorite travel accessories. A BIG THANK YOU to Carla of Creatin' in the Sticks for hosting this fun blog! Carla always has the greatest ideas for blog hops, and this one is no different!
This hop is all about traveling and some of our favorite travel accessories. There is always so much to do before a trip, and anything that makes the process easier is okay with me.
When my kids were little we vacationed mostly by car, but now that we're older my husband and I fly more often than drive. One of my pet peeves about flying is that my purse is stashed in the overhead, along with my phone and paperback. Of course I can get to it, but it's annoying to the other passengers, and to say the least, not handy for me. That's why I was so glad to find the Infinity Scarf with a Pocket.
This handy dandy scarf has a zippered pocket where I can keep items easily accessible. You can find a great tutorial on YouTube at P4P Infinity Scarf with Zipper Tutorial by Patterns for Pirates.
You will need 2 yards of fabric (I used a cotton/spandex mix) cut to approximately 22" wide by 72" long, 2 pocket pieces, approximately 8"x8", and a zipper (I used a 7").
On the long end of the fabric, measure 5" from edge and mark with a pin. Do the same for the opposite side. Place your zipper 5" from edge of fabric and sew one pocket piece to zipper. Then fold fabric, right sides together, to opposite side and sew pocket to zipper, making sure it is 5" from the edge.
With right sides together, start at the top edge of fabric and stitch across 5", down pocket and stop stitching about 2" on pocket bottom. Leave an opening in the pocket bottom to turn the scarf inside out. Begin stitching again an inch or two from bottom pocket edge, and continue sewing up the side of the pocket and the entire length of the fabric.
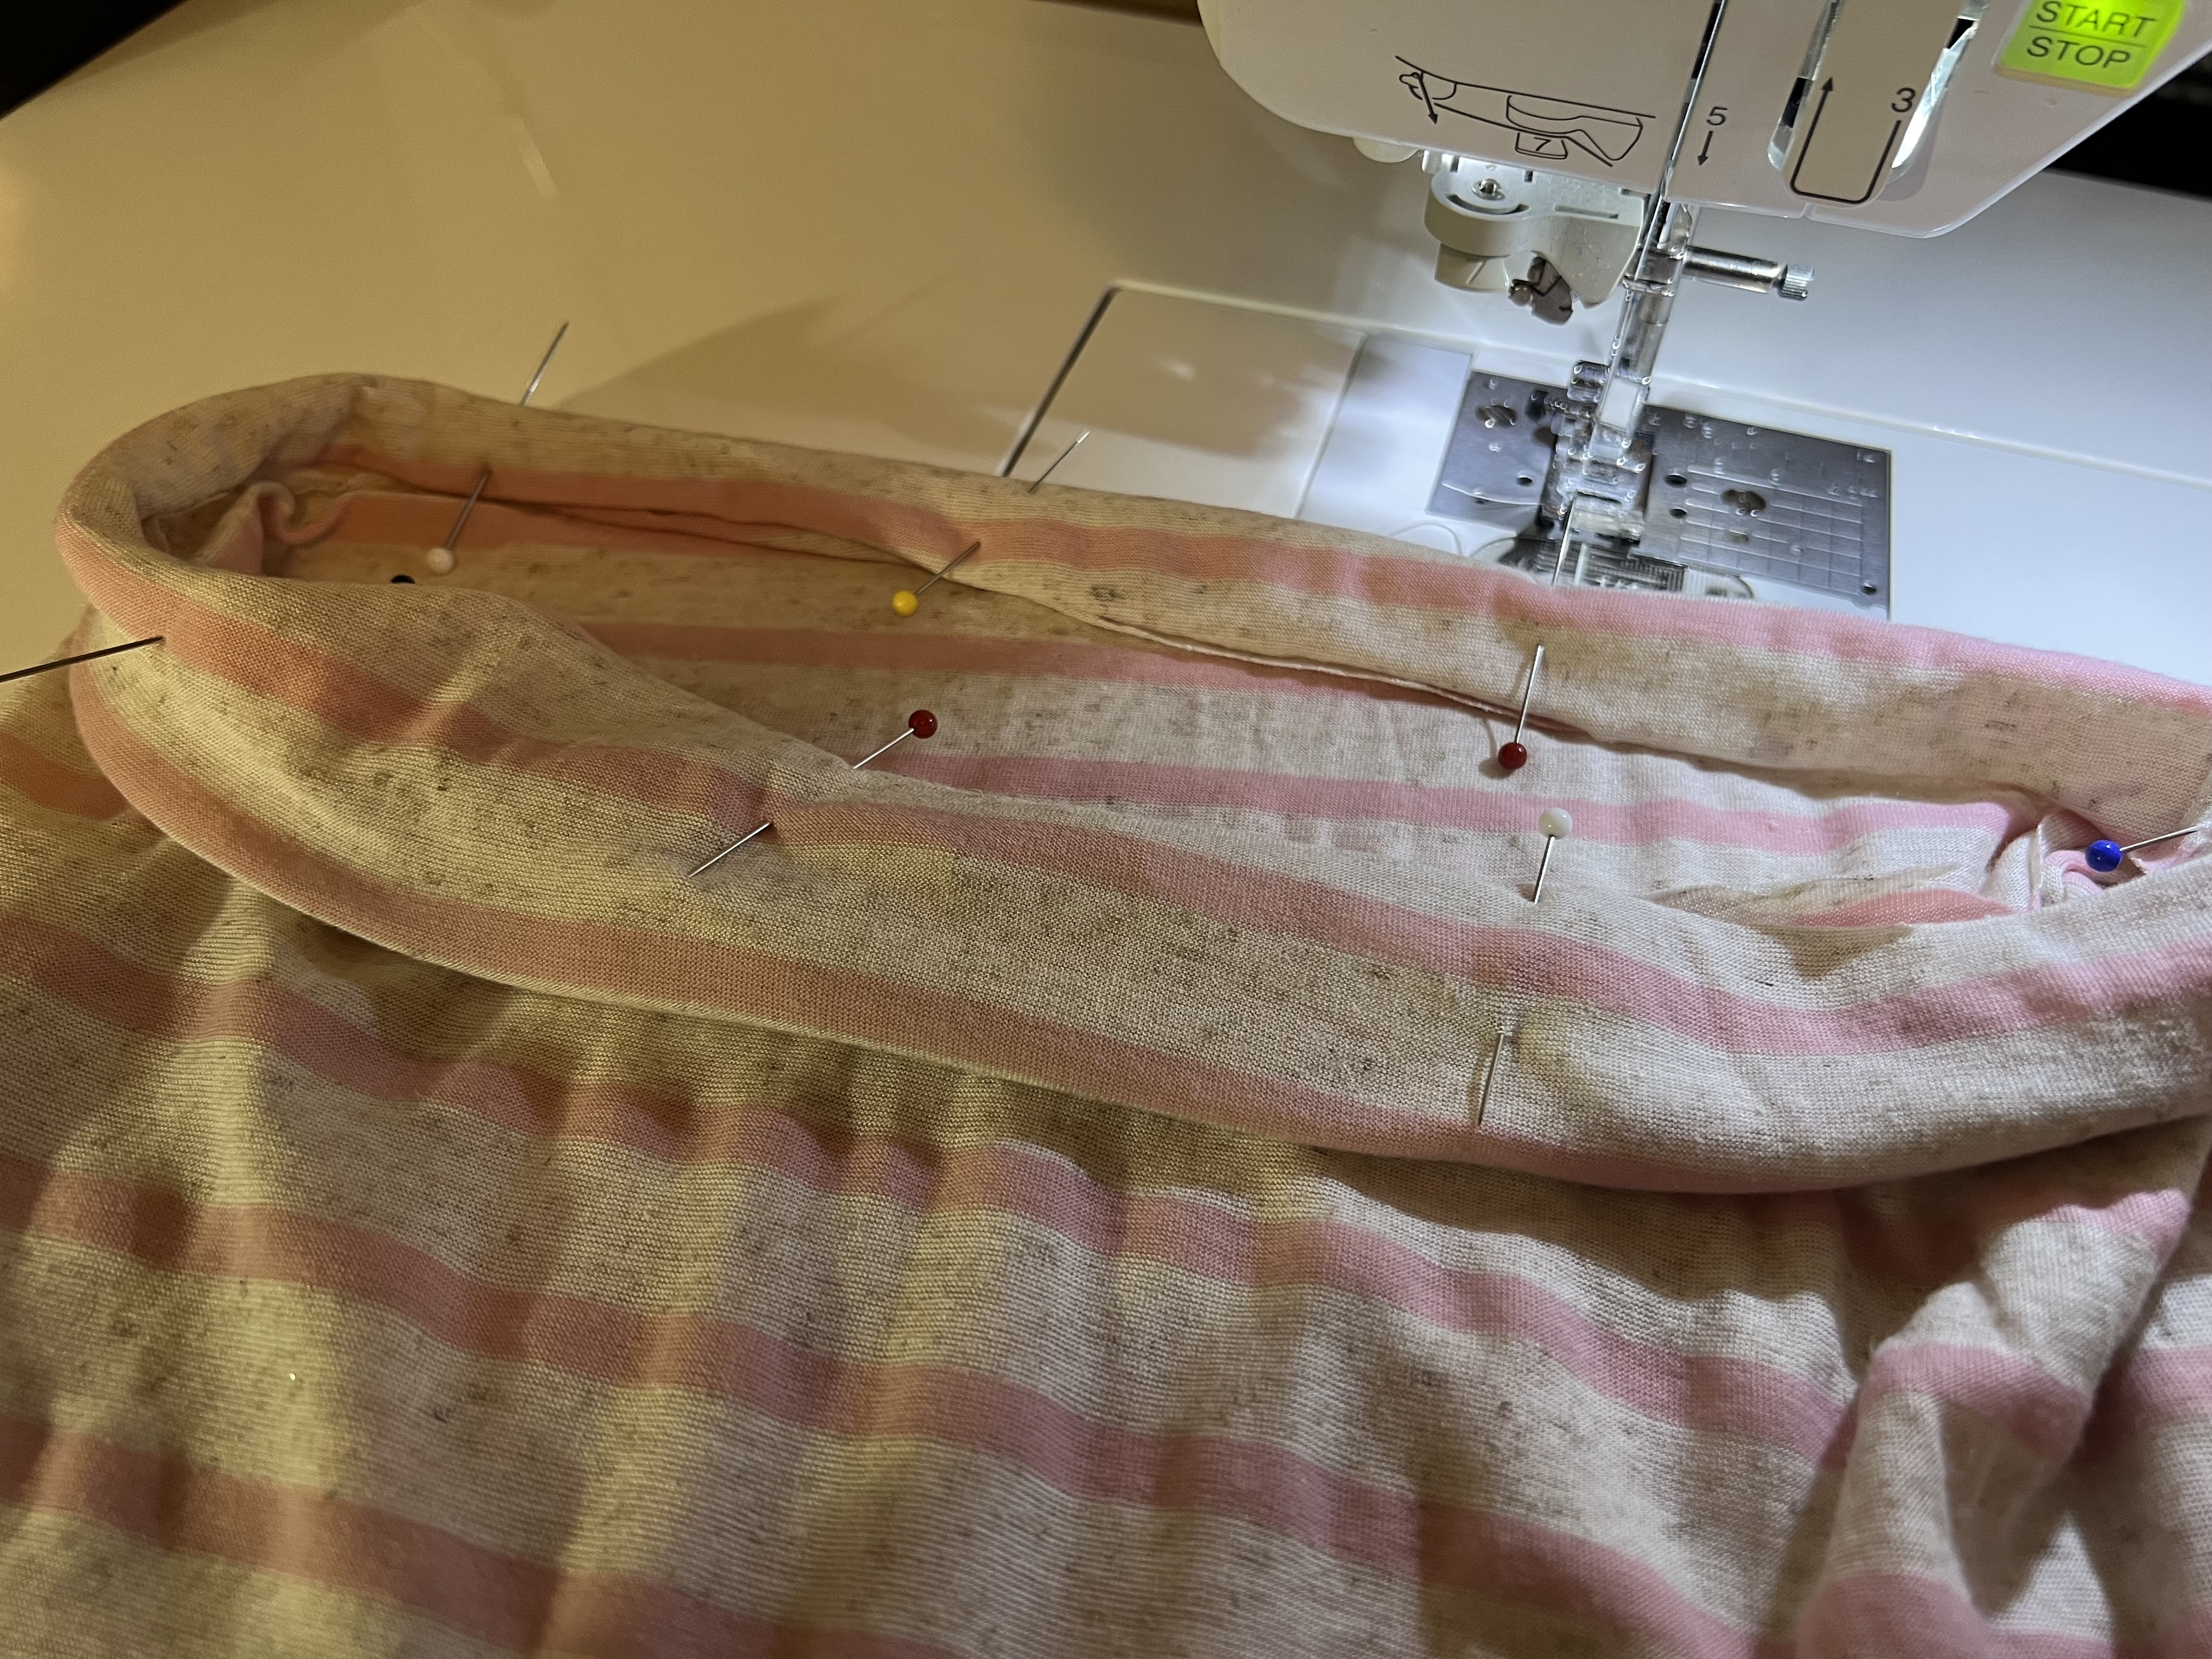
You should now have a tube. Reach hand inside fabric on end nearest pocket and pull down fabric over arm until you reach the other end of tube opening. Grab the edge of the fabric and pull back to opposite edge of fabric.
Align seams, pin edges together, and sew around tube, closing opening.
Pull fabric through opening in pocket and turn right side out. Stitch pocket opening closed.
Your Infinity Scarf with Zipper Pocket is complete.
When I was looking online for ideas for travel accessories, I came across this little beauty. It's a potholder with Zip Lock snack baggies sewn inside. What a clever idea for organizing the little things!
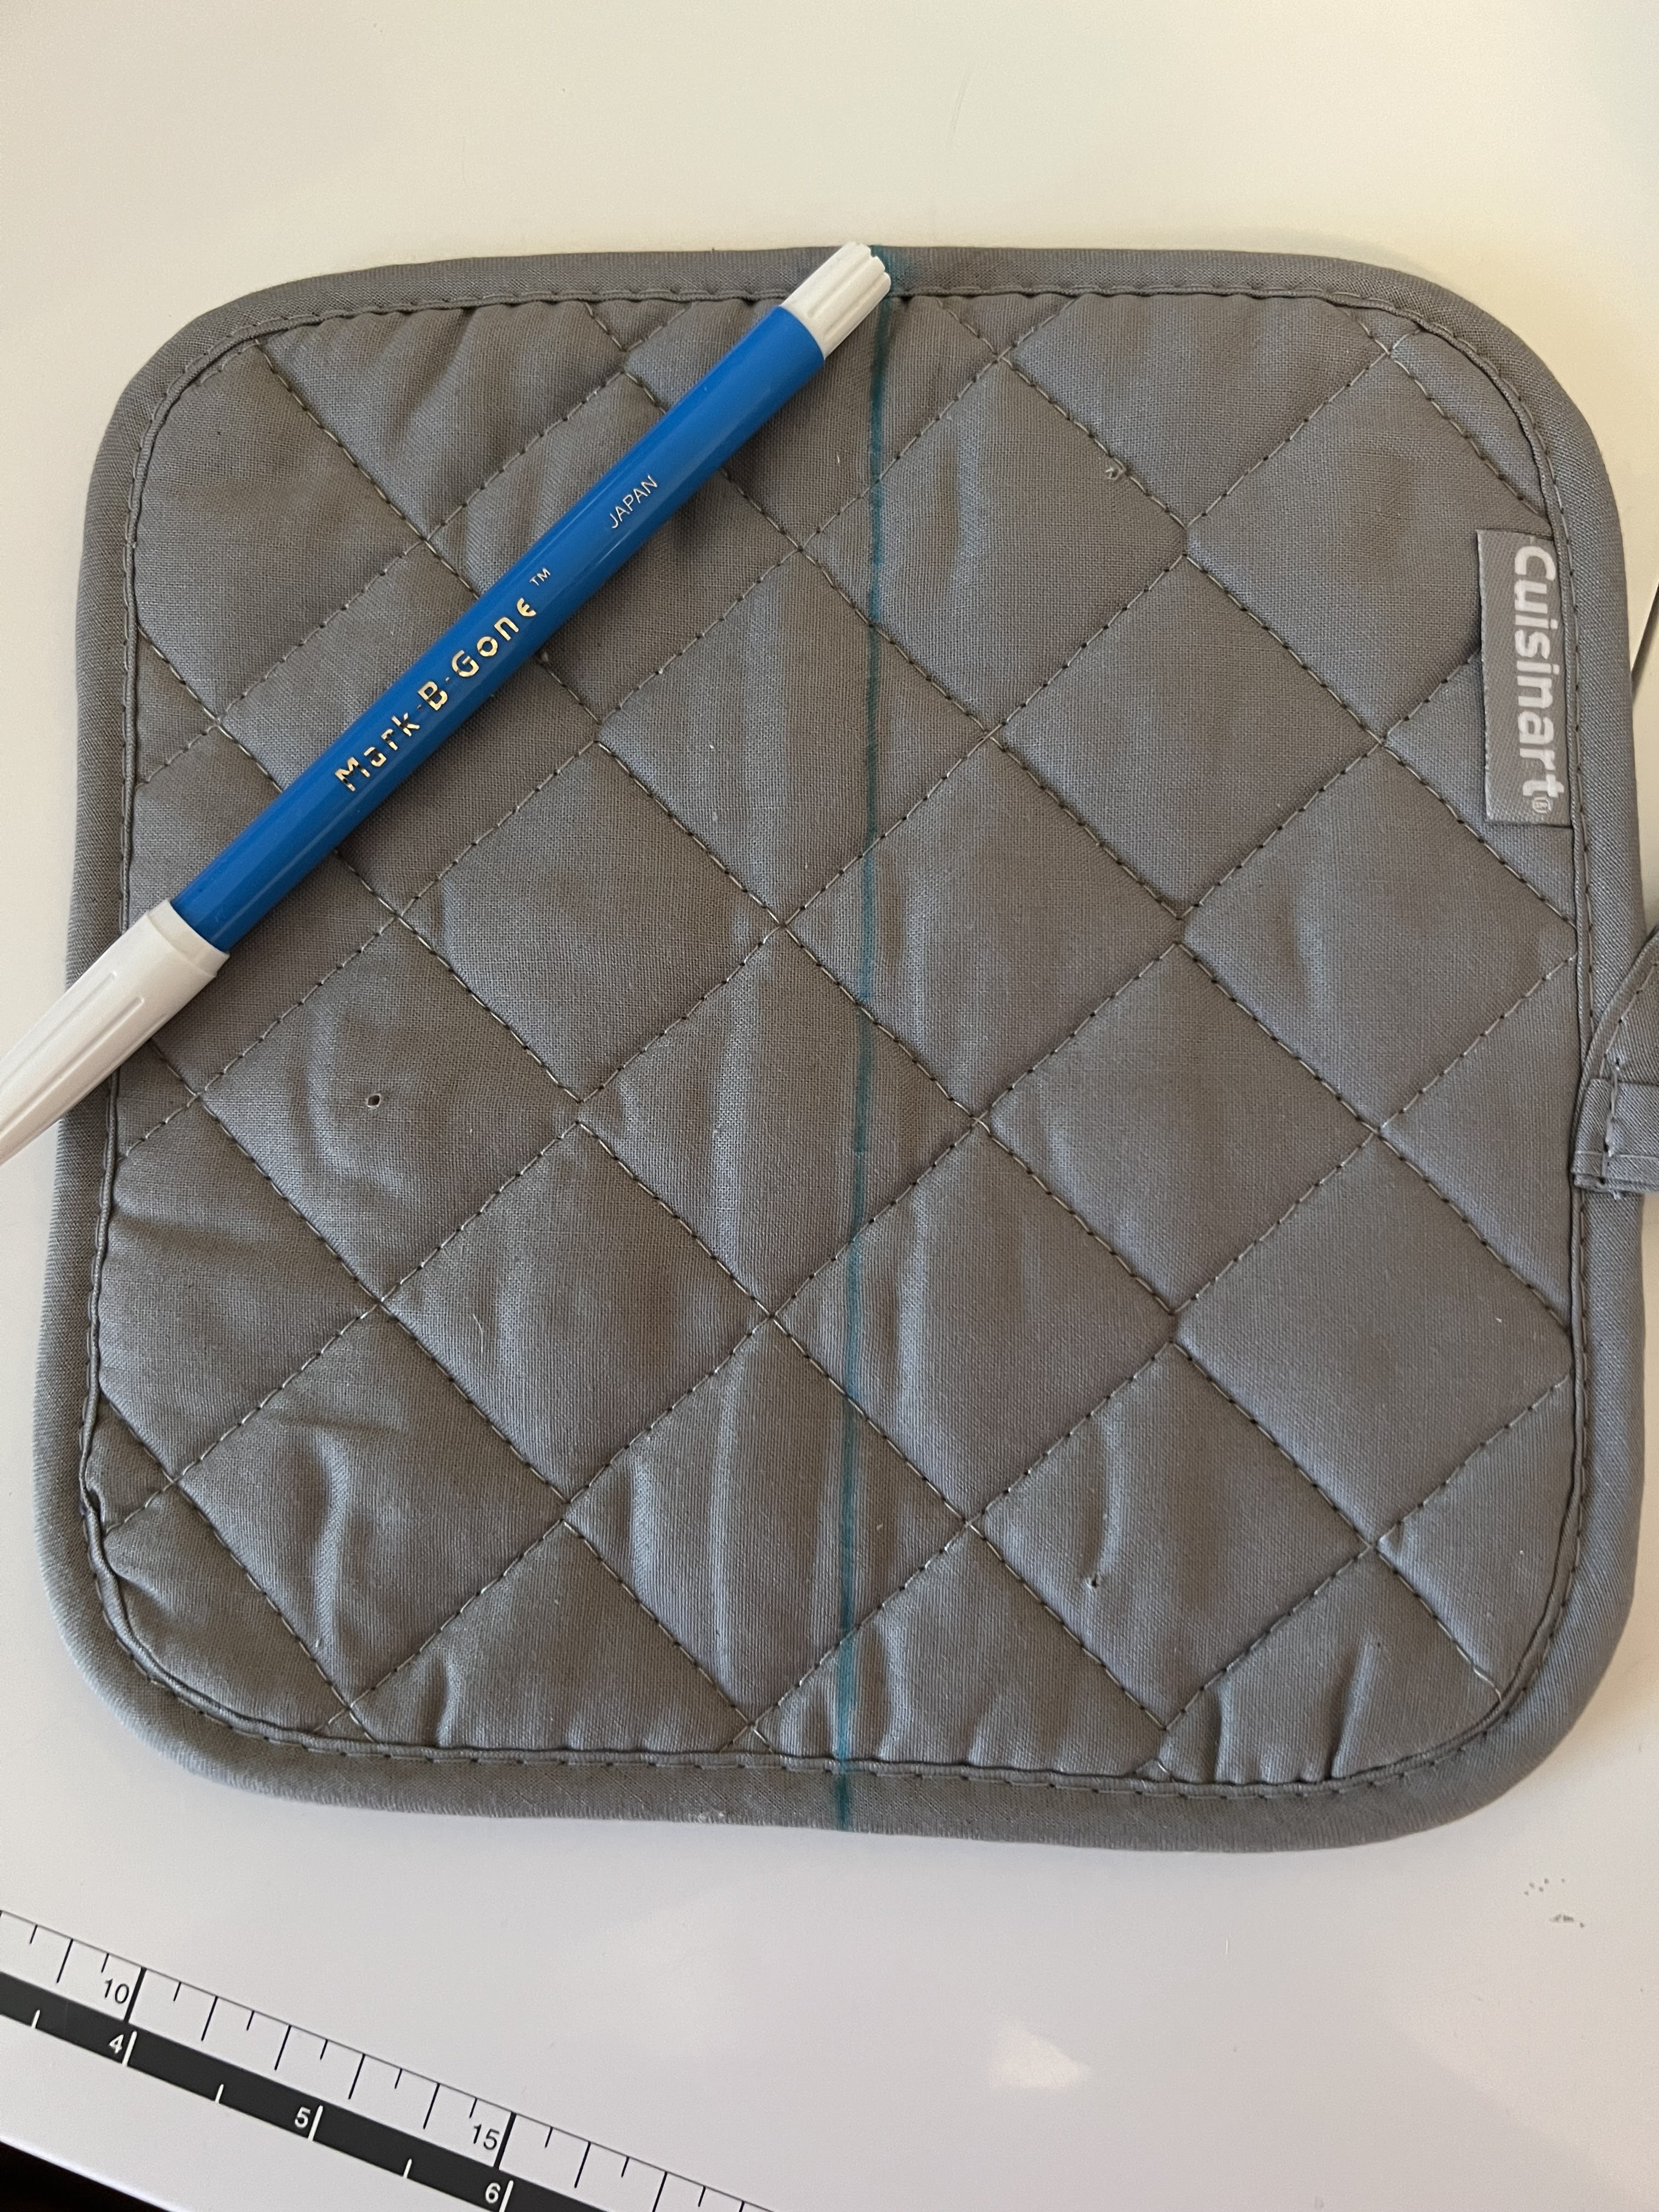
Start with a cute potholder.
Draw a line down the middle of the inside of the potholder.
Use the snack size baggies for this project. I used 4 baggies, but you could use more or less.
Pin the baggies in place (they are slippery). Place a piece of ribbon over center where baggies meet, and sew down the middle.
Sew a decorative button to the front of the potholder, add a couple of charms if you like, and your little organizer is complete.
You can fill your baggies with whatever you like. You could keep medical essentials, kids' crayons, jewelry, etc.
I hope you have enjoyed my travel ideas. If you haven't already, visit my other traveling companions and see what they have created for their trips! You will not be disappointed!
Until next time,
HAPPY TRAILS TO YOU!